Convolutional Neural Networks- an Illustrated Explanation
Edit: Shortly after writing this article, I made a YouTube Video explaining CNNs. Feel free to check it out!
One of the main use cases of neural networks, up to this point, has been to classify data. This data can be anything from telling if a tumor is malignant to whether that email you got from a Nigerian Prince is spam.

One of the most popular types of data is in image/video. Computer vision is the subfield in deep learning that deals with images and videos and what is contained in them.
Computer vision has many popular applications like image search algorithms, object detection in autonomous vehicles, and disease diagnosis.

One of the most popular neural networks to use for image data is the Convolutional Neural Network, otherwise known as a CNN. The highlight of CNNs is there ability to extract features like edges, textures, and shapes out of images.
In this article, I want to explain how the main layers in the CNN work through a series of illustrations.
Convolution Step
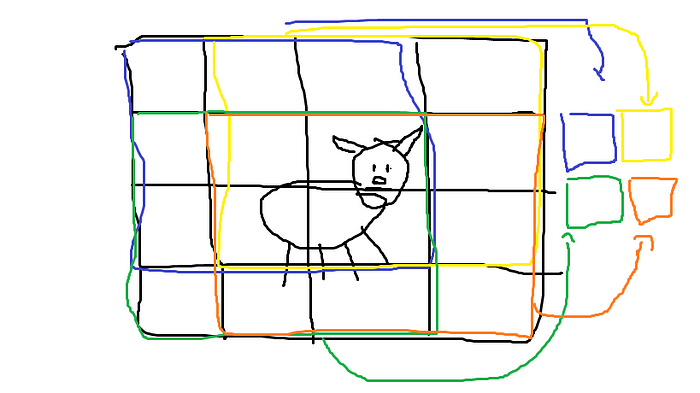
Imagine you have this image of a dog.

Now we see a dog in this picture, despite my poor drawing capabilities, but the computer sees it differently. The computer sees it as a series of pixels each with an RGB value.

Each box, in this case, represents a pixel. Of course, the pixels would be much smaller in a real picture. Next comes the convolutional layer.

What the convolutional layer did was apply a filter to a tile, which is a subsection of the image. The filter then multiplies the input values with the filter values and then adds them to create a sum. The model learns the correct values for the filter during training so it can extract good features.

The filter then slides over and does the same process. You can notice how some of the pixels actually overlap. The model then continues this process.
What we are then left with an output feature map that has (hopefully) extracted some useful features out of the input.
After the convolution is done a ReLU transformation is done to the feature map. To read more about the activation function check out this article.
Pooling Step
The next part of a typical CNN structure is a pooling step. What the pooling step does is take the output feature map, generated by the convolution, and downsize to reduce the number of dimensions in the model which saves processing time.

Imagine this was the output of the dog convolution + ReLU example. We want to downsize this feature map and a very common way to do this is by max pooling.

What max-pooling does is just take the max of a tile (usually 2x2). It is very similar to the convolution step, in the way that it slides through the input. We continue the process until the pooling is complete.

This is then finally connected to a dense layer which is your typical, vanilla multilayer perceptron. Check out this article to learn more about that.
Using CNNs in the CIFAR-10 dataset
Recently, I used a CNN to perform image classification on a dataset called CIFAR-10. The dataset is comprised of 60,000 images of 10 different objects (Hence the 10 in CIFAR-10).

The results were pretty good, and after just 3 epochs of training, the loss on the test data was 74%. Here is a snippet of the code.
model = models.Sequential()model.add(layers.Conv2D(32, (3, 3), activation='relu', input_shape=(32, 32, 3)))
model.add(layers.MaxPooling2D((2, 2)))
model.add(layers.Conv2D(64, (3, 3), activation='relu'))
model.add(layers.MaxPooling2D((2, 2)))
model.add(layers.Conv2D(64, (3, 3), activation='relu')) model.add(layers.Flatten())
model.add(layers.Dense(64, activation='relu'))
model.add(layers.Dense(10, activation='softmax')) model.compile(optimizer='adam',              loss='sparse_categorical_crossentropy',metrics=['accuracy'])
With additional data augmentation and regularization, the accuracy could have become even higher because it would solve some problems like overfitting and increase the dataset size.
Another possibility is in Transfer Learning which is using a pre-trained model like, Inception from Google, to then apply it to our model.
You can check out the full code to my model on Github with this link.
Before you Go!
I’m currently continuing to work on additional ML projects which I will share on Medium in the coming weeks!

